
Thermal Imaging & Industrial Inspection: The Complete Guide
Thermal imaging has become one of the most valuable tools in modern industrial inspection. By turning invisible infrared heat into a clear, colour-mapped picture, a thermal camera lets technicians find faults that the human eye simply cannot see — long before they cause downtime, damage, or danger. This complete guide explains how thermal imaging works, where it is used, what specifications matter, and how to choose the right camera from the MarMonix thermal cameras range.
What Is Thermal Imaging and How Does It Work?
Every object above absolute zero emits infrared radiation in proportion to its temperature. A thermal imaging camera uses an infrared detector to measure this radiation across a scene and convert it into a temperature map, where colours represent different temperatures. Unlike a standard camera, a thermal camera needs no light at all — it “sees” heat, making it ideal for dark cabinets, enclosed machinery, and round-the-clock monitoring.
The result is a fast, non-contact way to spot abnormal heat patterns: a loose electrical connection running hot, an overloaded motor, a blocked pipe, or moisture hidden inside a wall.
Where Are Thermal Cameras Used?
Electrical inspection
Thermal imaging is the standard method for inspecting switchboards, breakers, busbars, and connections. Loose or corroded joints heat up under load, and a thermal scan reveals them instantly so they can be repaired during planned maintenance instead of failing unexpectedly.
Mechanical and rotating equipment
Bearings, motors, pumps, couplings, and belts all generate excess heat when they begin to fail. Routine thermal scans catch friction, misalignment, and lubrication problems early, extending equipment life and preventing costly breakdowns.
Building and energy surveys
Thermal cameras locate missing insulation, air leaks, damp, and overheating circuits in buildings, helping reduce energy bills and improve comfort and safety.
Key Specifications to Look For
- Detector resolution — more pixels (e.g. 192×256 or higher) mean sharper images and the ability to inspect smaller targets from a safe distance.
- Temperature range — choose a range that covers your application; most electrical and mechanical work fits within −20°C to 400°C.
- Thermal sensitivity (NETD) — lower values reveal smaller temperature differences, important for building-envelope surveys.
- Visual camera & image fusion — a built-in visual camera makes documenting and locating faults much easier.
How to Get Accurate Thermal Readings
Accuracy depends on technique as much as the camera. Set the correct emissivity for the surface you are measuring, keep a consistent distance, and avoid reflections from shiny metal. Start with a wide scan to find hot spots, then move closer to confirm the hottest point and record both a thermal and a visual image along with the load and location. This turns a quick check into a defensible inspection record.
Choosing the Right MarMonix Thermal Camera
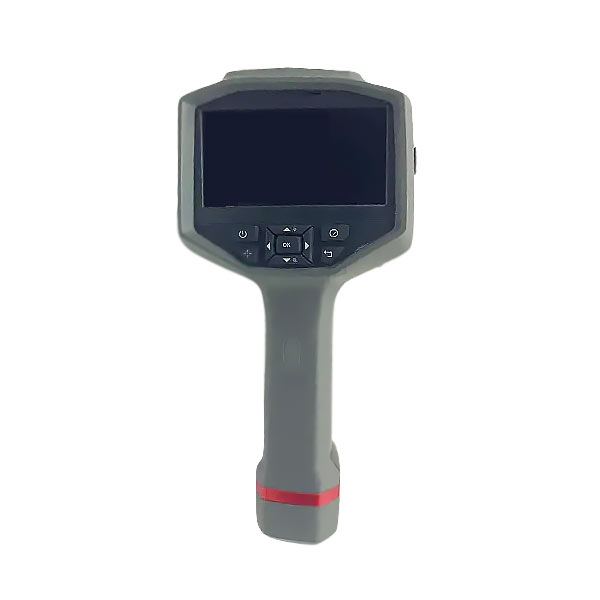
For everyday electrical and mechanical fault-finding, a balanced handheld imager offers the best value. Browse the full thermal cameras category to compare models by resolution, range, and features, and match the camera to the work you do most often. Pair higher resolution with demanding inspection tasks, and prioritise a wide temperature range for high-heat mechanical environments.
Frequently Asked Questions
Do I need special training to use a thermal camera?
No — modern handheld cameras are point-and-shoot. However, understanding emissivity and reflections will make your readings far more reliable.
Can a thermal camera see through walls?
No. It detects surface temperature only, but it can reveal heat patterns behind a surface, such as a hot pipe or a missing patch of insulation.
What resolution do I need?
For general electrical and mechanical work, 192×256 is an excellent balance of detail and price; choose higher resolution for fine building-envelope surveys.